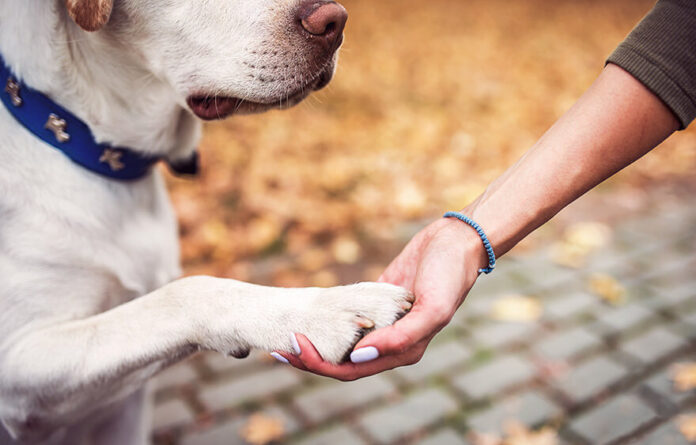
Although paw wax helps keep a furry pet’s paws soft and supple, it can provide only limited protection. This means your furry baby’s paws are still susceptible to injuries and other risks. Should a paw injury occur, prioritize proper treatment and avoid experimentation or guesswork.
Untreated injuries can quickly become infected, which is a serious concern. Just as you wouldn’t attempt to dress a cut on your child’s foot using hot or cold wax, it is essential to approach your puppy’s paw injuries with the same level of care.
Numerous dog products are specifically designed to aid in healing open wounds, and your furry friend’s feet deserve that level of care and attention. Paw wax should be used to avoid dryness and cracks and not be seen as a miraculous, all-powerful product with healing properties.
While you focus on guarding your little pupper’s paws, consider being equipped with dog insurance so that dealing with any accidental injuries and other medical emergencies is not as financially stressful.
Contemplate pet insurance for dogs so your poochie can avail of quality medical assistance just when it is needed with little economic hassle. In the meantime, read this article to learn how to prepare paw wax at home.
How to make it?
If you’re a puppy parent who prefers to have complete knowledge and control over the ingredients used on your four-legged babies, then consider a DIY technique for making paw wax. This way, you will have full authority over the ingredients and can ensure the safety of your furry best friend.
Also, you can make it as frequently as needed and create multiple batches that will last long, eliminating the last-minute rush to purchase it when required. Embracing a DIY approach can save you much money and provide the reassurance of knowing exactly what you’re applying to your furry precious’s paws.
Although it may require you to walk that extra mile by investing more time and effort than buying pre-packaged paw wax, the peace of mind it brings could be worth it. So why wait to try this popular recipe?
- To prepare paw wax, gather the following ingredients: coconut oil, olive oil, shea butter, and beeswax in a ratio of 2:2:1:4. These ingredients are readily available and affordable, so there’s no need to search for exotic items to make that perfect wax for your pooch. You can easily find them in local grocery stores or online.
- Make sure you have the necessary supplies on the table before starting. This includes a double boiler or a small pot and as many containers as you want to store the wax towards the end.
- Place your double boiler or pot on low heat. Add the ingredients to the pot and continuously stir the mixture. Allow all items to melt thoroughly to ensure a well-blended consistency. This process often requires some physical effort, so be prepared for it.
- Once you notice a perfect blend, carefully pour the mixture into your chosen molds (containers). Exercise caution, as the mixture will be hot to avoid any injuries or burns. Find a safe place for the containers’ contents to cool completely.
- As they cool, the wax will harden. Once cooled, seal the containers with caps, label them appropriately to avoid confusion with other products (such as lip balm), and store them in a convenient location away from high heat exposure.
With these steps, you can create homemade paw wax for your puppy using easily accessible ingredients and simple equipment. Yet, you should consider being prepared with dog insurance because accidental injuries to paws can’t be ruled out when a pup leads an active lifestyle. Contemplate purchasing pet insurance for dogs so that unanticipated health situations are more manageable.


